Coloring Your Outline/Redwork Embroidery
How to Color In Your Redwork / Blackwork Projects
by Jennie Baer of Homeberries Designs
What You Will Need:
For this example, you're going to need fine point markers. I prefer to use Prismacolor markers for their boldness, quailty, blendability and the fact that they have both wide tip and a fine tip on each marker. Of course fabric markers will also work well, but you may find your color choices to be limited. If you choose to use fabric markers, please follow the directions on the packaging for heat setting.
You will also need to either hand-stitch or machine embroider your design.
STEPS:
1. Test a small scrap or hidden area of your fabric to determine how much your ink will bleed out. This can vary greatly, even between types of common fabric such as muslin, so be sure to test every time.
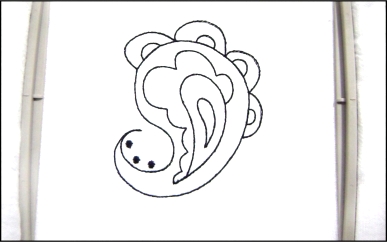
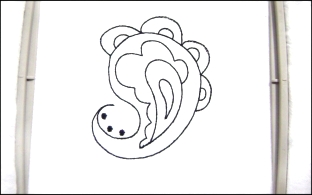
2. Stitch out your pattern.
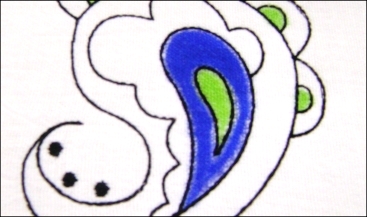
3. For your first area, start by lightly filling in away from the borders. If you add color on top of wet color, it will cause the ink to spread even more. Try to resist the urge to continue adding until the first layer has had some time to dry. Wait for each section to dry before moving on to the next section.
4. As you layer the colors, try to color in light colors first, then dark colors. By doing so, if there is any bleeding, you will have a better chance of having the darker color cover it up.
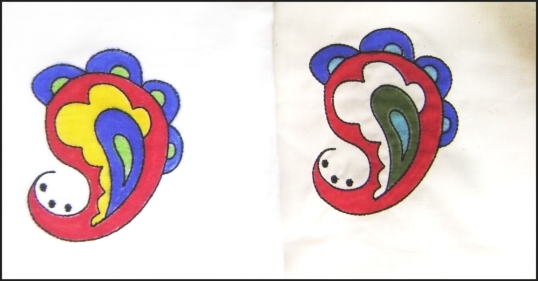
The first paisley I am coloring in was stitched on a double layer of floursack cloth. It had a high bleed element, but I am still very happy with the results.

5. After you have colored in your project, put it in the dryer on high for at least 20 minutes to heat set the ink. I would do this even if you do not intend to wash the item just to be safe incase you ever do have a smudgy finger or spill on your item. If you try to heat set it after it's stained, you just might be heat setting the stain as well. Better safe than sorry!
6. Last, some fabrics will inevitably bleed a bit. The photo above of the floursack cloth has a touch of bleeding outside of the lines, that's OK and should be expected on some fabrics.
Below is an example of how differently the technique can appear on different kinds of fabric. The fabric on the left is floursack cotton, and the fabric on the right is unbleached muslin.
You can see that the floursack has a bit more of a fuzzy bleed on the outside edges, and that the muslin is a bit sharper. The center of the muslin was left uncolored to show how you can let your fabric shine through as a unique color to the design as well.
That's essentially all it takes to color in your projects using markers. However, if you prefer more control, you may also use colored pencils, crayons, or chalk to get softer color fills. Here's some quick notes on each technique.
Using colored Pencils – This is a fun way to add color without fear of bleeding, but I do not recommend using this on washable items, especially if they are watercolor colored pencils. If you are using a waxy colored pencil, follow the directions for coloring with crayons below.
Using Crayons – Crayons again are a fun choice for filling in blank areas. After you have colored in your project, iron your newly colored piece with an old towel beneath it right side up and a piece of paper over your crayon work. The iron must be hot and you will see the wax sink into the paper leaving a greasy look. This will heat set your color and you'll be able to wash it later. It will fade a bit over time, but the look can be very soft and pretty.
Using Chalk – Colored chalk leaves a very soft sweet look to your outline work. I would also recommend not washing these items and only using this technique on decorative projects. Chalk is wonderfully blendable and soft, but can also be very messy and dusty – so be warned ! LOL!
I hope these suggestions will give you confidence to try new techniques to add pop and color to your new outline designs. Have fun and be creative!
=====================================================================
What a fun tutorial! How would you like a FREE design to try this technique out! Jennie has digitized this exclusive paisley colorwork design just for you! You can find it in the FREE section at SWAKembroidery.com
See other designs of Homeberries using this same coloring method!
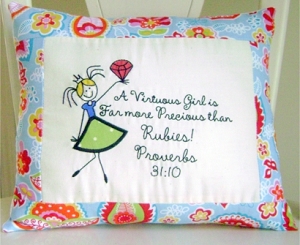
The skirt is done in applique, but all other parts of the design are colored! How fun! You can find this design HERE!
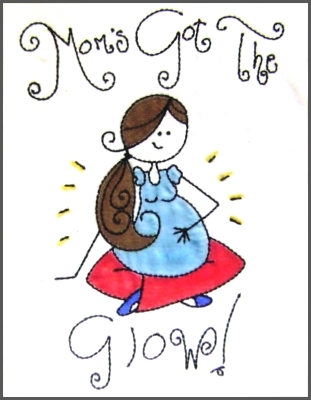
And what a fun design for the expectant mother! If you are interested in just the mom alone, the lettering can be left off as it is the last step of the design! Find it HERE!