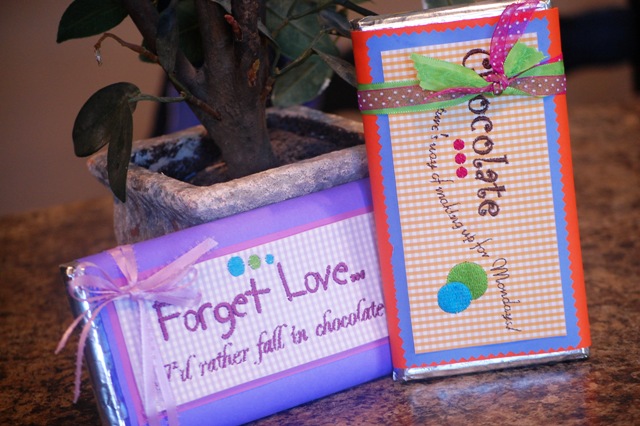
Embroider A Candy Bar Wrapper
Is there someone you know who could use a little bounce in their step? I'm sure you can think of many. How about giving them a small token of your "I'm thinking of you" spirit and embroidering a candy bar wrapper for them?
It's very easy to do, and if you've never embroidered on paper, you should give it a try! Make sure your needle is sharp and let's get started!
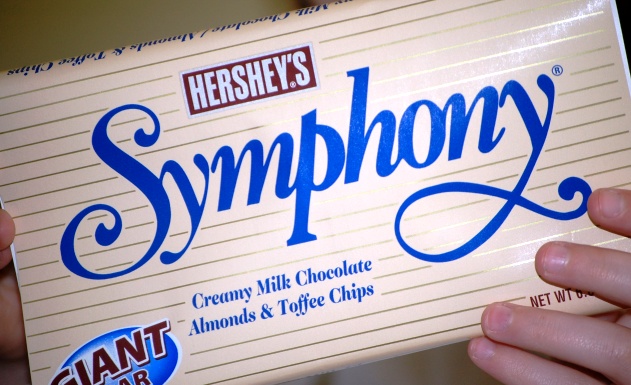
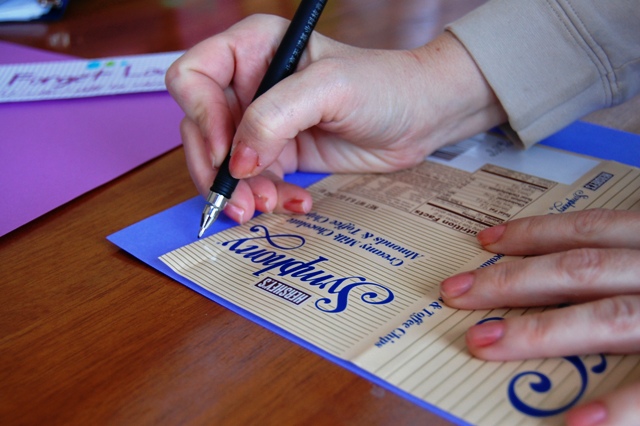
First, you will need a giant candy bar, such as the Hershey's Symphony bar shown below. (My personal favorite!) It is the 6.8 oz size. You will also need some cut-away stabilizer, a sheet of kiwi or mulberry paper, and your 5x7 hoop!
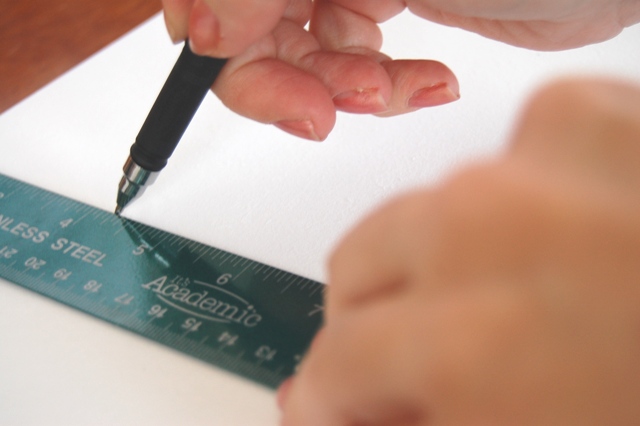
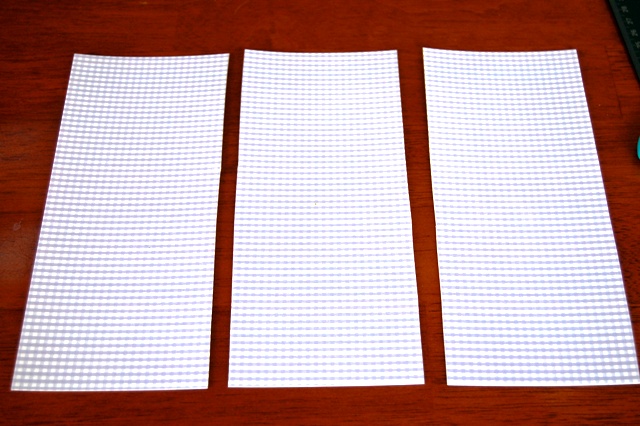
1. Turn a sheet of kiwi or mulberry paper over to the backside and measure every 3 1/2 inches. This specialty paper can be on the more expensive side, so it's nice to know that I can get 3 wrappers out of each sheet!
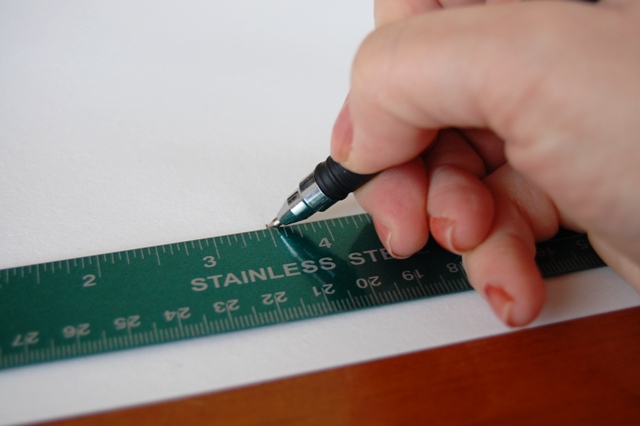
2. Draw lines to divide the paper at each 3 1/2 inch mark.
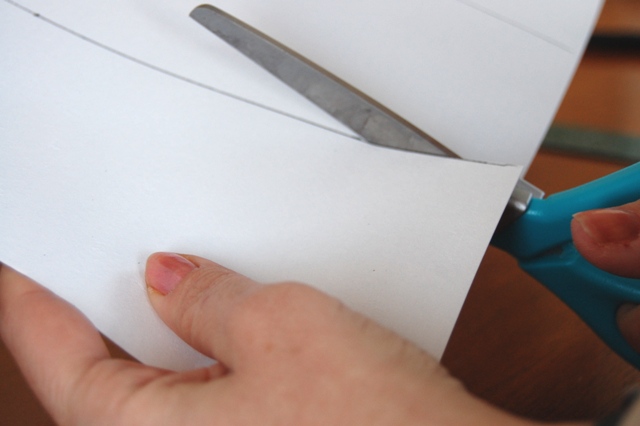
3. Cut along the lines.
4. You should now have 3 separate pieces of paper to embroider on. You will only use 1 for each candy bar wrapper.
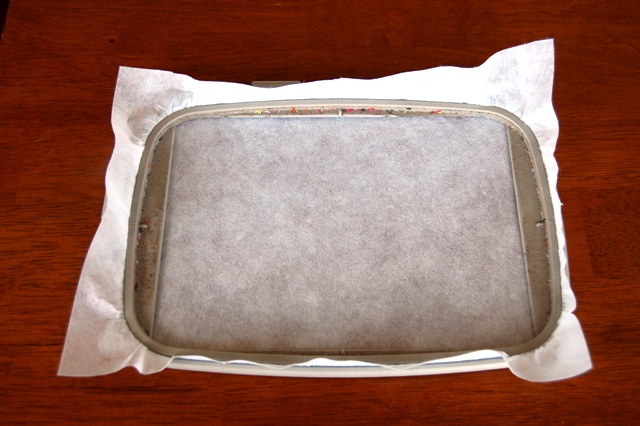
5. Hoop a piece of medium weight cut-away stabilizer in your 5x7 hoop.
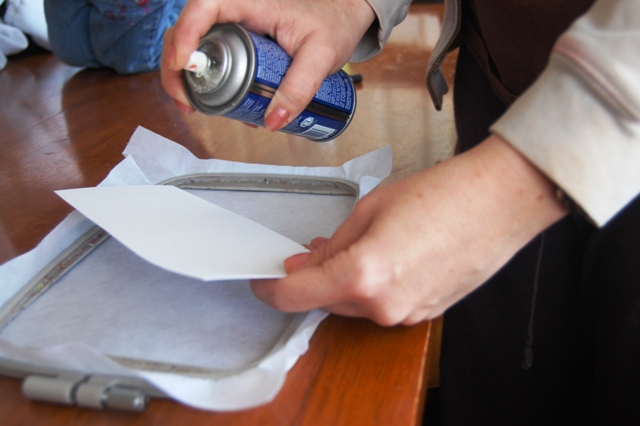
6. Lightly spray the back of the paper with an adhesive spray. This is not absolutely necessary, but does ensure your paper to stay put at the beginning of embroidering.
7. Center paper in the middle of the hoop and press down lightly.
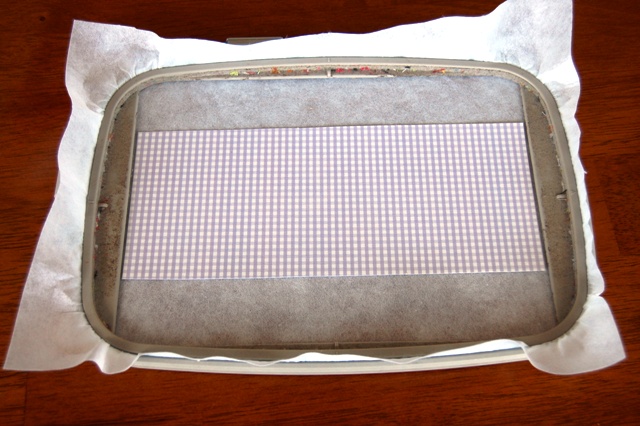
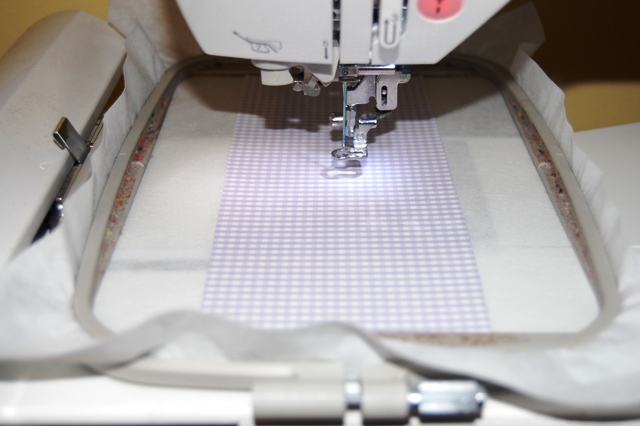
8. Snap hoop into place. Begin to embroider selected design & continue until finished. (Boy, just looking at these pictures makes me realize it's time to clean my hoop! There are some great tips in SWAK 101 for how to do this as well!)
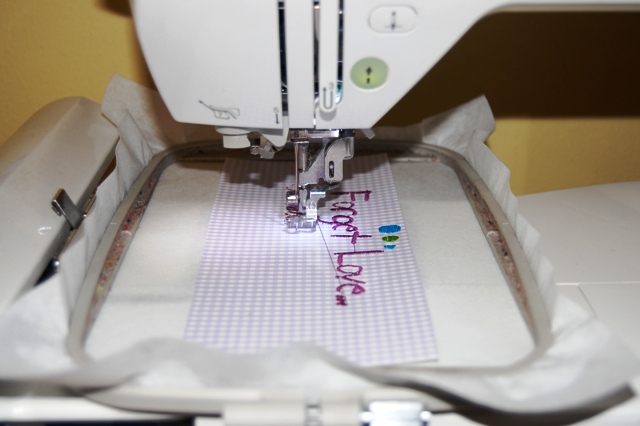
9. Remove hoop from machine. Cut paper out. Trim to desired measurement if necessary.
Turning Your Design Into the New Wrapper!
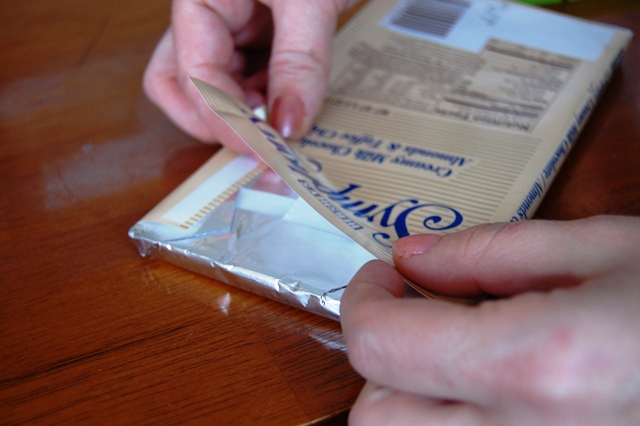
1. Carefully remove outside wrapper from candy bar. Keep the foil wrapper in tact.
2. Use the paper wrapper you had removed as your template. Trace outline onto colored paper and cut out. *It's also a good idea to tape the ingredient list onto the inside of the new wrapper to keep those with food allergies safe.*
3. Wrap new, colored paper around the foil of the candy bar. Tape closed in the back.
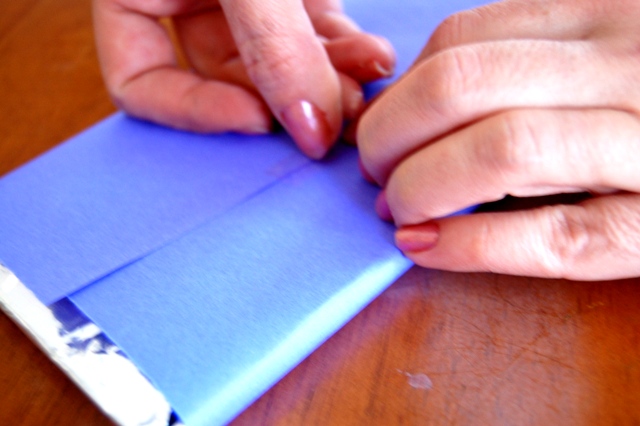
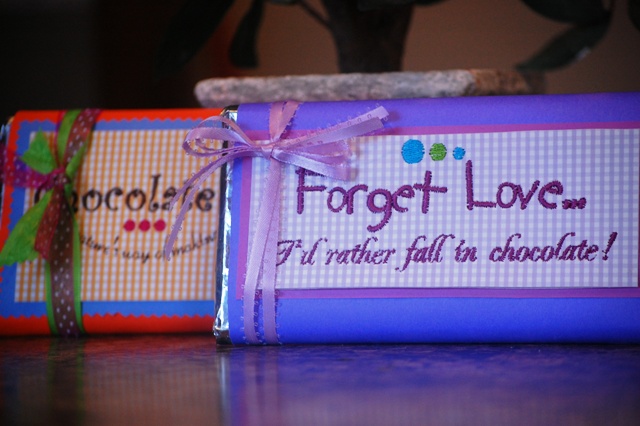
4. Glue the back of your embroidered paper and place on the front of the candy bar. (In this example, I actually backed up my original, embroidered paper with another color of cardstock as well just to add more color and texture to my finished piece.)

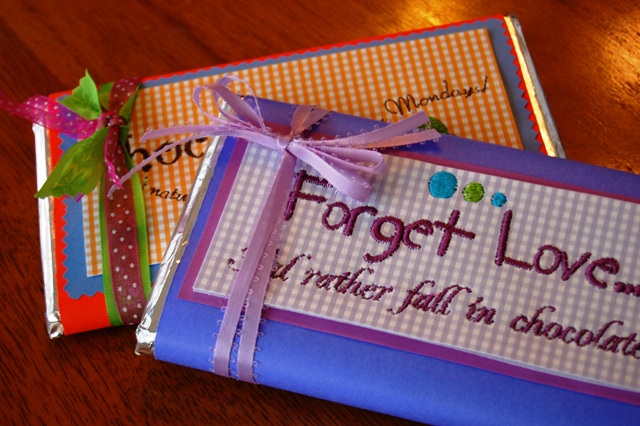
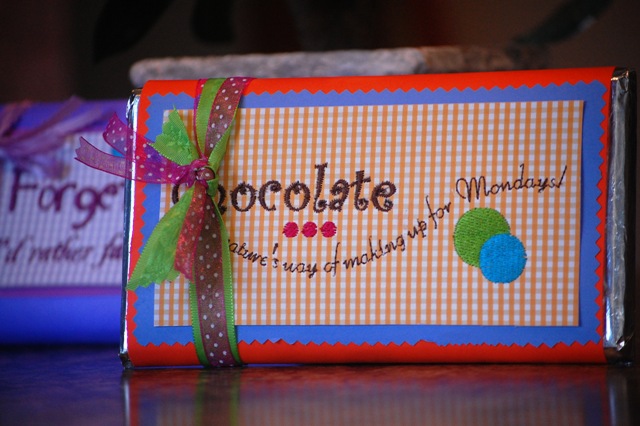
You're finished! How fun!
*Special Note: Embroidering on paper will dull your needle, so make sure you change needles after you are finished working with paper embroidery!
*Be sure to include the ingredient list for the person receiving the candy to avoid problems with food allergies.
Now wasn't that fun? How would you like to stitch out these same 2 designs yourself? Well now you can for FREE! You can find both designs located in our FREE section at SWAKembroidery.com!
So go ahead and enjoy! Because after all, when the going gets tough, the tough eat chocolate. ;)